September 22, 2026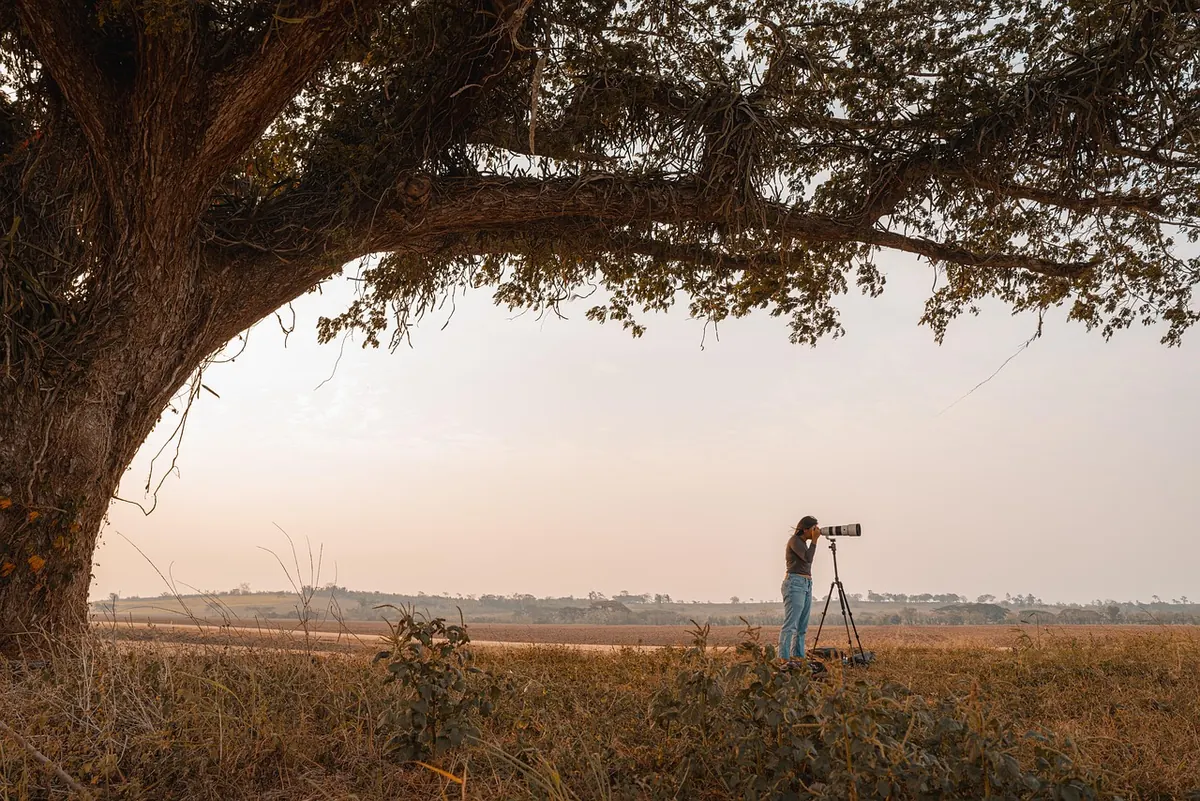
Follies are awkward subjects in the best way. They perch on mounds, hide behind laurels, close off a vista at the end of an avenue of limes, or stand in a field with nothing but sheep for company. Most have one elegant face and three plain ones, because they were built to be seen from a particular direction. Photographing them well is less about expensive kit than about walking the site, reading the light and deciding what the building is doing in the landscape. A phone in your pocket and a few sound habits will get you most of the way.
Start with the kit you already own
A phone camera is more capable than most of us give it credit for. Turn on the grid, tap the masonry to set focus, then drag the exposure slider down a touch. Pale limestone, chalky render and white Coade stone will otherwise blow out and lose every scrap of texture. Resist pinch-zoom: move your feet instead, or take the wider shot and crop later, because digital zoom smears detail you cannot recover. If your phone shoots RAW — ProRAW on newer iPhones, or the RAW option in most Android camera apps — switch it on for anything you might print. It gives you far more room to lift shadows in a dark grotto or calm a bright sky.
With a proper camera, work in aperture priority and keep things simple. Choose f/8 to f/11 when you want the folly and its setting both reasonably sharp, and drop to f/4 or f/5.6 only when you deliberately want to separate a tower from the trees behind it. Set a single autofocus point and place it on the building, not on the grass in front or the cloud above. Dial in minus one-third or minus two-thirds of a stop of exposure compensation to protect the highlights. Then check the histogram rather than trusting the back of the screen.
These settings cover most situations:
- Aperture: f/8–f/11 for general views, f/4–f/5.6 to isolate details.
- ISO: base setting (100 or 200). Raise it only if you must hand-hold in deep shade.
- Shutter speed: 1/125 sec or faster hand-held; slower is fine on a tripod, and a two-second delay stops the wobble as you press the button.
- Focus: single point on the stonework; for very deep scenes, focus about a third of the way in.
- Format: RAW where available, JPEG fine otherwise.
Composition: give the folly somewhere to stand
Ask first what the folly is doing. A classical temple front or an obelisk often rewards symmetry: stand square to it, centre it, and let the frame feel formal. A leaning ruined arch or a tumbled sham castle usually looks better pushed off to one side, with space in front of it for the eye to travel through.
Then look for lines that lead in. A gravel path, a mown strip through long grass, a ha-ha wall, a flight of steps, a stream, the shadow of a fence — all of these pull a viewer towards the building without them noticing why. Foreground matters too. A fallen branch, a gate, a stone bench or a clump of cow parsley in the near edge of the frame gives the picture depth and stops it looking like a flat record shot.
Scale is the hardest thing to convey. Follies are frequently smaller than we expect, or larger, and viewers cannot tell without a clue. A person, a gate, a bench or a doorway helps. So does your own position: kneeling low exaggerates height, while shooting from a nearby slope, a first-floor window or the top of a bank can show the plan and the setting at once. Watch your horizon, too — high or low is better than straight through the middle — and check the edges of the frame before you press the shutter. Half a finial, a wheelie bin or a stray visitor's elbow will ruin an otherwise fine picture.
Build a set of three shots
One photograph rarely tells the whole story, so give each visit a small structure:
- The setting shot. Step back. Show the folly in its landscape — the field, the lake, the parkland trees — even if the building is small in the frame.
- The portrait. Move closer, fill the frame, get the proportions and the detail of the materials.
- The detail. A rusticated quoin, a carved keystone, a mossy niche, an iron finial against cloud. These are the images that carry the character of the place.
Shoot the details while you are waiting for light to change, and they will often end up being the photographs you like best.
Light: what the sky is doing matters more than the camera
Overcast days are a gift. Soft, even light flatters brick, flint and pale stone and lets you shoot from almost any angle. The risk is a blank white sky, so either keep it out of the frame, expose for the stone and let it go bright, or use it deliberately as a plain backdrop.
Early and late in the day, low sun rakes across a façade and reveals texture that vanishes at noon — the grain of the stone, the relief of a cornice, the shadow of a buttress. Shoot across the light rather than into it where you can. Backlighting is dramatic: expose for the stone and let the sky burn out, or bracket a few frames and choose later.
Middle-of-the-day sun is harsh, but it is not useless. It is the right light for silhouettes and for interiors — grottoes, ice houses, shell-lined passages — where you want shafts of light through a doorway. Rain is an ally as well: wet stone darkens, saturates and reflects, and puddles give you a second, upside-down version of the building. Mist separates layers of trees and hides modern clutter; it usually forms on still, clear, cold mornings in valleys, so check the forecast the night before and be there at first light.
Lenses, focal lengths and the phone zoom trap
Something in the 24–35mm range is ideal for showing a folly in its landscape. Keep the camera level to avoid verticals converging, and correct any remaining lean when you edit. A 50mm lens is a good, honest middle ground. The real surprise, though, is a 70–200mm: longer focal lengths compress distance, stack trees and hills into layers, and let you isolate a folly from a car park or a modern fence in the background. They are also the only way to photograph a distant eyecatcher across a lake.
On a phone, use the main lens and ignore the digital zoom beyond the optical steps. If your phone has a genuine 2x or 3x telephoto, use that instead of zooming with your fingers. The ultra-wide (0.5x) is fun for a folly's interior or a whole garden panorama, but keep the building away from the edges of the frame, where it will stretch unpleasantly.
A simple field routine
Walk the whole site before you unpack anything, even if it takes ten minutes. Notice which side the light is falling on, where the best foreground is, and which angle the building was designed to be seen from. Take the setting shot first as insurance, then work closer, then hunt for details. Check the histogram, shoot at two or three focal lengths, and try one deliberate low angle and one from higher up.
Be sensible about access. Many follies stand on private land, in working farmland or on estates with their own rules; use public footpaths and permissive paths, close gates behind you, and never climb on fragile masonry, which is often held together by little more than habit. Ask before setting up a tripod where it might block a path, and check the property's rules before flying a drone. Then go back in different weather. The same tower in frost, mist or low autumn sun is a different photograph entirely, and the second visit is usually where the good ones come from.
Photo: RonaldPlett / Pixabay