October 03, 2026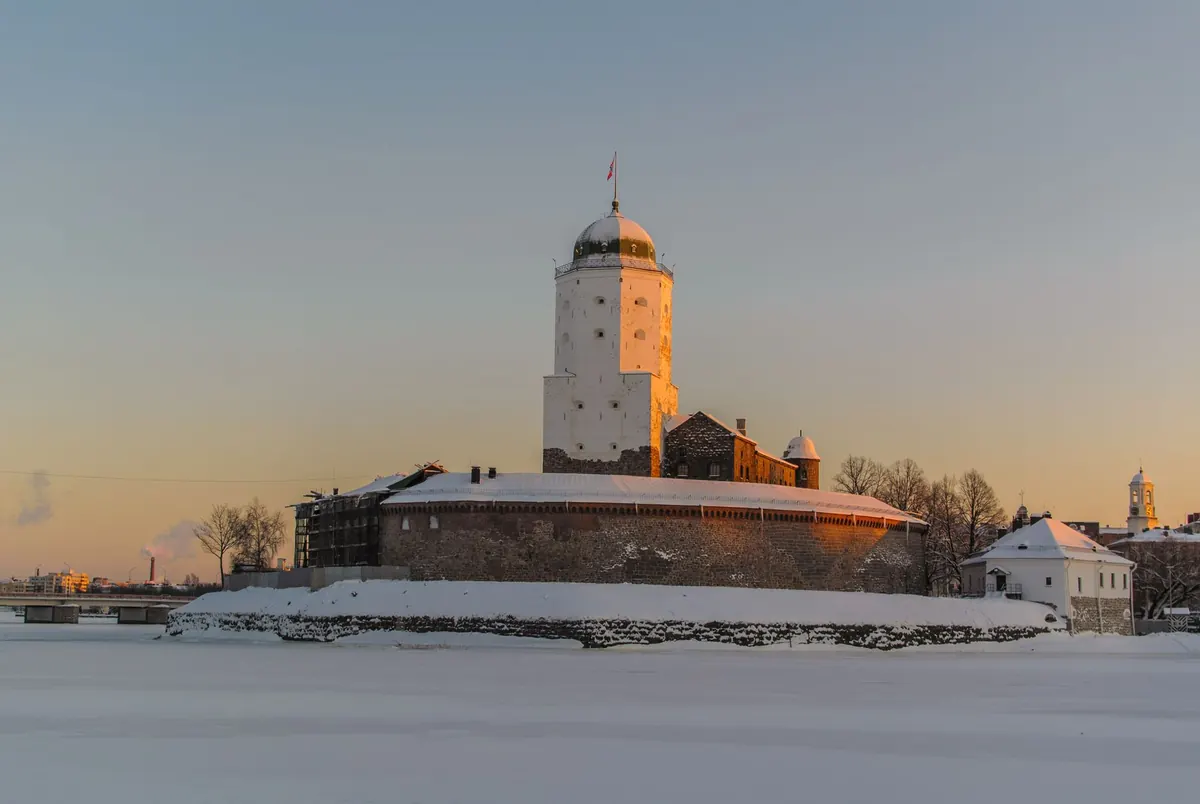
Winter strips a landscape back to essentials. The canopy disappears, the undergrowth lies flat, and snow smooths the ground into a single pale plane. A folly you have photographed a dozen times in July — half-smothered in hogweed, hemmed in by leaf — suddenly stands clear again, and you can see what its builder actually intended. That is the argument for packing a camera in January rather than waiting for spring.
The season does three useful things at once: it lowers the sun, quietens the background and traces every edge in frost. Used deliberately, those are compositional tools rather than obstacles.
The low winter sun is the whole point
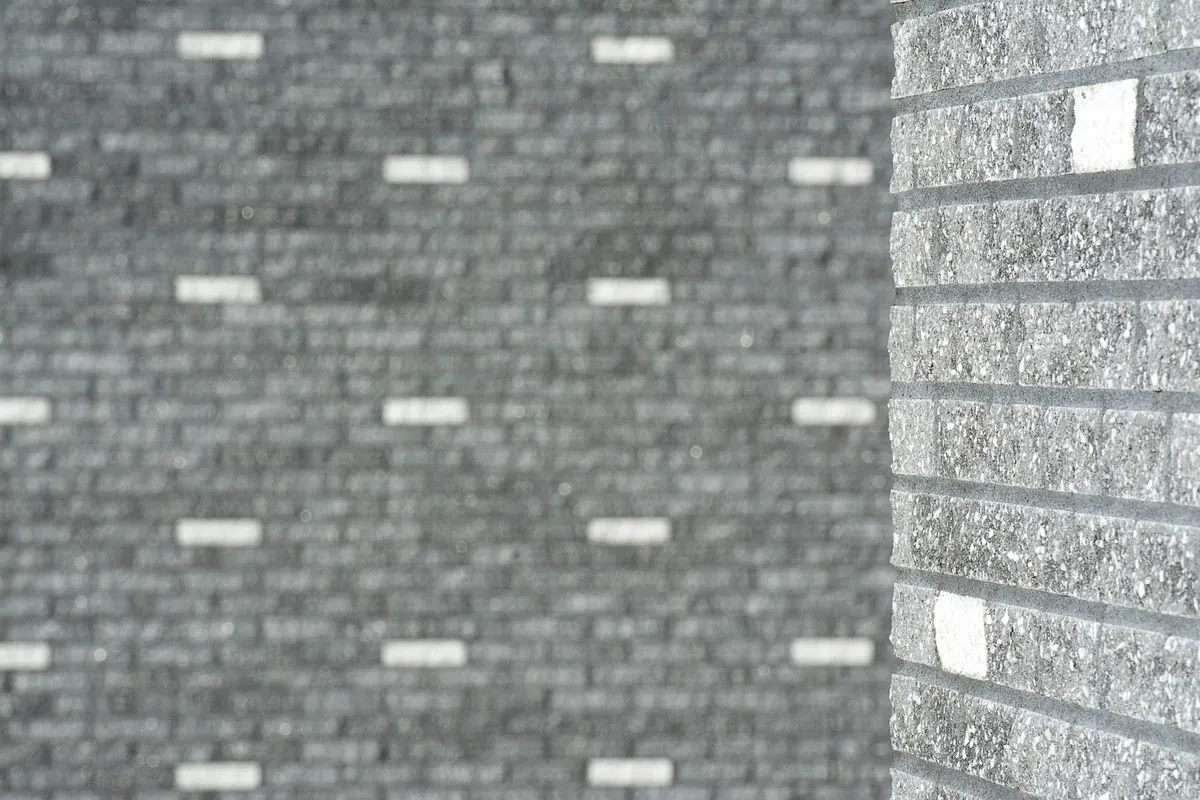
In southern Britain the midday sun climbs only about 15 degrees above the horizon in late December; further north it stays lower still. Raking light is therefore available for most of the day, not just the twenty minutes either side of dawn. Shadows stretch, textures exaggerate, and every string course, blind window and weathered moulding on a stone face reads clearly in the frame.
Use it side-on. Wait for the sun to come across the facade rather than sitting behind you; frontlight flattens stonework into a postcard, while light travelling across a wall finds the depth in reveals, quoins and carving. The unusual bonus is timing: in midwinter you can photograph an east-facing elevation in warm light at lunchtime, which is impossible in June. The sun's slow decline also stretches golden hour into something closer to two hours, and blue hour lasts long enough to set up without panic.
Snow is both reflector and eraser
Fresh snow bounces a great deal of light back into the shadow side of a building, working like a vast white softbox. Detail that would be lost in blackness on a grey November afternoon reappears. The catch is that contrast drops, and flat snow-light can make a tower look like a cardboard cutout. Add separation: put a dark stone edge against white ground, or wait for a break in the cloud to rim the roofline with sun.
Snow is also the finest declutterer available. Fence lines, brambles, bin stores, tyre tracks and the dog-walker's path all vanish beneath a couple of inches, leaving the folly and its setting. Two things to watch: footprints, and the grubby melt ring around a building's base. Shooting early, before anyone else has been out, gives you untouched ground. If tracks already exist, use them — a single line of prints curving towards a doorway is a better lead-in than empty white.
Bare trees show you the architecture
Deciduous trees without leaves are line drawings. They reveal the vertical rhythm of a plantation, the spacing of a lime walk, the shape of the skyline above a sham castle. More practically, they open sightlines that were solid green in summer — the moment a distant tower appears through the woods, or the exact spot from which a temple lines up with its parent house. If you have ever suspected a folly was placed on an axis, winter is when the geometry gives itself away.
Framing with branches
Don't overdo it. Thin grey twigs across the top of a frame are visual noise; move a few paces, drop the camera lower or step sideways so the building sits against clean sky or snow rather than a thicket. Where branches do earn their place is as a frame: a dark bough on the left, an arch of bare lime overhead, a single trunk on the right, and the folly in the gap between. Evergreens are useful in the opposite way — a block of yew or holly gives weight and a foil for pale stone.
Frost rewards an early start
Frost forms on clear, still nights, and lingers longest in shade, in valley bottoms, near water and on north-facing slopes. Rime on the windward edges of a parapet will outline an entire roofline — copings, finials, chimney pots — turning a silhouette into something jewelled and temporary.
Backlight is the trick. With the sun low behind the subject, frosted edges glow while the stone goes dark, which suits towers, obelisks and anything with a spike. Once the sun touches frost it melts quickly, so plan the morning around north-facing subjects first and leave sunlit elevations for later. Set daylight white balance and stay there; snow shadows read blue, and auto white balance will drift between frames as the light changes.
Exposure, metering and kit
Cameras meter snow as grey, so a wide white field pulls the whole image down and leaves your folly muddy. Add exposure compensation — somewhere between +0.7 and +1.5 EV to begin with — and trust the histogram rather than the back screen. Watch both ends: the stone should hold texture in the shadows, and the brightest snow shouldn't clip unless you want it to.
Cold weather asks a few things of your bag:
- Spare batteries, carried in an inside pocket where your body keeps them working
- A tripod for blue hour and steady framing in low light
- A lens hood and a couple of cloths — a flake on the front element ruins a long exposure
- A polariser for wet stone glare and saturated winter skies; it does little under flat overcast
- Thin liner gloves under mittens, so you can change settings without bare hands
- A headtorch, a waterproof mat to kneel on, and a flask
When you get home, don't unpack straight away. Leave the camera in its bag and let it come up to room temperature slowly, or condensation will form inside the lens before it forms on the outside.
Paths, shadows and reflections
Composition in snow is mostly about lines and shapes. A track or drive under snow becomes a clean leading line, and long tree shadows stripe across it like rulers. Look for the moment a shadow crosses in front of the folly, then place the building on a third rather than dead centre. A low sun behind you will throw your own shadow forward — step out of it, or use it knowingly.
Semi-frozen water is a gift: a mill pond, canal or ditch can reflect a tower, giving you symmetry with a broken, milky foreground. Stay off the ice. No photograph is worth falling through, and frozen water in Britain is rarely as thick as it looks. A pole and local knowledge are far better guides than a promising grey surface.
A practical winter shooting plan
Start with the forecast: a clear, cold night followed by a bright morning gives you frost, firm ground and a low sun. Arrive before sunrise, walk the site while the light is blue, and choose two or three compositions rather than chasing everything. Work the first hour after sunrise for frosted detail and untouched snow. Use the low midday light for elevations that need raking illumination. Come back for the half-hour after sunset, when a folly silhouetted against a graded sky can be stronger than any fully lit shot.
Check access before you travel — plenty of follies stand on private estates, and some grounds close through the winter. Use gates as they are meant to be used, keep to paths where the ground is soft, and don't tread a virgin snow field simply because the view from the far side is better.
Then go back in May. Seeing what the same building conceals once the leaves return is the best reminder of everything winter let you see.
Photo: paul / Pexels